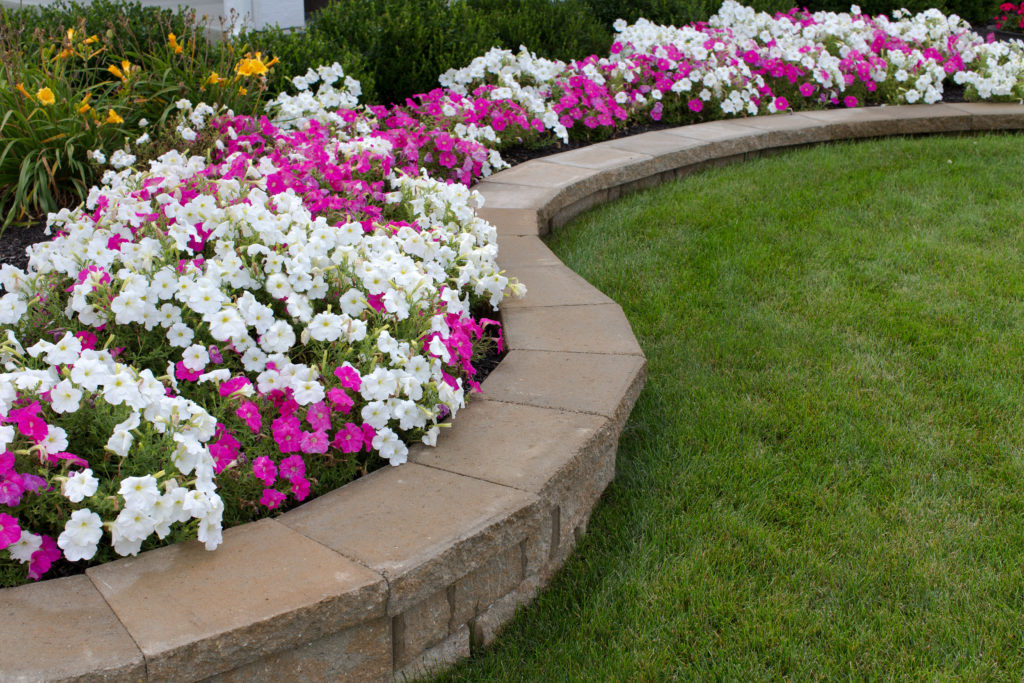
Are you looking to level a steep slope or build and enclose a raised garden bed? A simple interlocking block retaining wall may be your answer. Retaining walls can be a simple weekend project when properly planned and can greatly enhance your landscaping.
Interlocking retaining wall blocks have a lip on the bottom of the rear side to lock the blocks together. When the gap behind is filled in with earth forces the blocks forward strengthening the joints. These systems are meant for relatively low walls between 15 to 28 inches.
Follow these 8 steps to build your wall:
Step 1
Measure and mark out you retaining wall using line and stakes.
Step 2
Dig a trench for the foundation layer of blocks. You need your first row to be slightly below grade and the width of the trench should be twice the width of the block so you can easily center and level each one. The depth will vary depending on which block you choose but generally around 6 to 8 inches deep.
Step 3
Compact the soil in the trench using a tamper and then add a 2-3 inch layer of paver base. Rake it in to create a level surface and compact this once again using a hand tamper.
Step 4
Use a chisel and hammer to remove the lip from the first row of blocks. Then set and level your first block. Add more paver base if required or use a rubber mallet to compact the block down into the trench. Continue laying your first row of blocks checking the level as of them as you go. Continuously leveling is a key factor to a long lasting retaining wall. An uneven wall will have weaker joints and deteriorate quicker. Taking extra care on the first row will make other rows more uniform.
Step 5
For your second row cut your first block in half to stagger the joints. Lay the remaining blocks in the row and then finish with the other half of the cut block. Continue this pattern with staggered joints until you reach your desired height.
Step 6
To prevent earth from seeping through your joints drape landscape fabric along the back of the blocks and backfill with gravel for proper drainage.
Step 7
When you’re ready to lay the top cap or final row sweep any debris away first. Use construction adhesive to secure the caps to the row below.
Step 8
Fold over any excess landscape fabric and cover with topsoil or mulch.
At this point you should have a finished retaining wall to be proud of. If you need help planning your retaining wall stop in at any of our locations and one of our expert staff will be more than happy to assist you.